Cook Live Lobster Humanely: Expert Tips for Tender, Flavorful Meat
Cooking live lobster at home might seem daunting, but with the right guidance, it's an incredibly rewarding experience that yields some of the most succulent, flavorful seafood you can imagine. Forget dry, rubbery meat – our expert tips will show you
how to cook a lobster humanely, ensuring a tender, juicy result every single time. From proper handling to precise cooking techniques, we'll demystify the process and transform you into a confident lobster chef.
Humane Handling: Prioritizing Comfort Before the Cook
Before you even think about firing up the stove, understanding how to handle and store live lobsters is crucial for both their quality and your peace of mind. Proper pre-cooking care ensures the lobster remains healthy, lively, and ultimately, provides the best possible flavor. For a deep dive into storage and care, check out our guide on
Mastering Live Lobster: Prep, Cook & Store for Best Freshness.
Storing Your Lobster
If you're not cooking your lobsters immediately upon arrival, refrigeration is key. Mimicking their cold, moist ocean habitat, store them in the coolest part of your refrigerator (ideally around 40°F). Place them in a ventilated container, like a sturdy paper bag, or a cooler lined with damp newspaper or seaweed, then cover them with a damp cloth.
Critical Don'ts:
*
Do NOT submerge live lobsters in fresh water. Fresh water is lethal to lobsters due to osmotic shock, essentially drowning them by disrupting their internal salt balance.
*
Do NOT place them directly on ice. Ice can freeze delicate parts, damaging the meat.
* Aim to cook your lobsters within 24-36 hours of receiving them. While they can survive longer, their quality and vitality begin to decline, impacting taste and texture. The fresher, the better!
Safe Handling Practices
Live lobsters come equipped with powerful claws. To protect both yourself and the lobster, always grasp them firmly by the body (the carapace) just behind the claws. Avoid picking them up by the tail or claws, as this can cause injury. Most shipped lobsters will arrive with rubber bands on their claws – leave these on! They are your best defense against a painful pinch. While some chefs debate if rubber bands can impart a subtle taste when boiled, the effect is generally considered minor. For beginners, it's far safer to cook with the bands on and remove them after cooking.
The Humane Approach: Chilling for Sedation
Many home cooks and professional chefs prioritize humane dispatch. One widely accepted method to minimize a lobster's stress and sensation before cooking is sedation through chilling.
How to Sedate a Lobster:
1. Just before you're ready to cook, place the live lobster in your freezer.
2. Leave it for approximately 15-20 minutes. This cold environment "puts the lobster to sleep," significantly numbing its senses and making it lethargic.
3. A sedated lobster will be much calmer, move less when introduced to hot water, and be easier to handle, especially if you decide to remove the rubber bands pre-cook.
While the scientific debate about crustacean pain continues, a quick freezer nap followed by a swift drop into boiling water (head-first) is generally considered the most humane way to dispatch a lobster at home. This method reduces any perceived suffering and makes the entire process less stressful for the cook.
Essential Gear & Prep: Setting the Stage for Success
Before you dive into cooking, ensure you have all your tools and ingredients ready. A well-prepared kitchen makes for a smoother, more enjoyable cooking experience.
What You’ll Need:
*
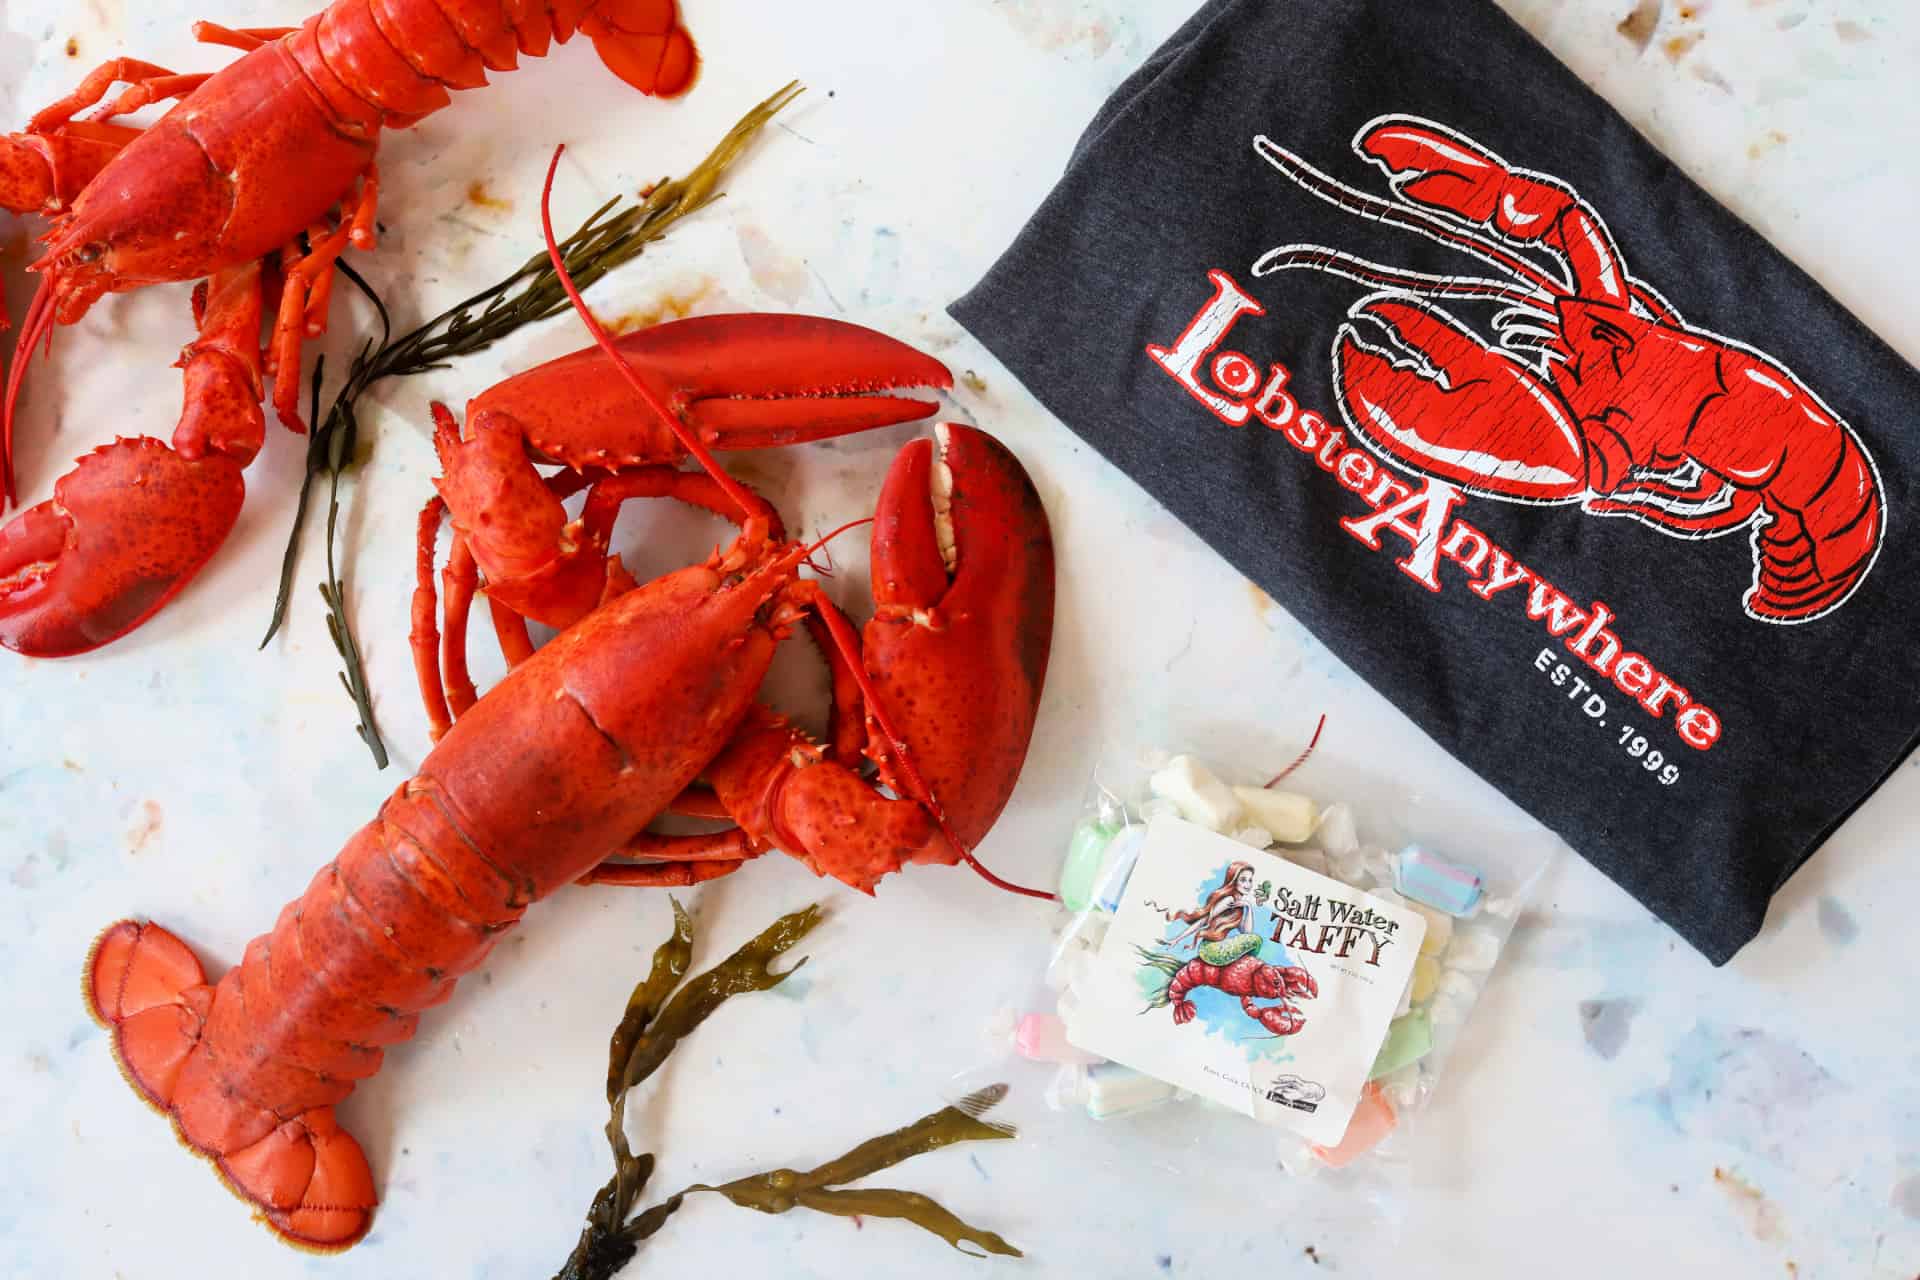
Lively Live Lobster(s): For the sweetest, most tender meat, we highly recommend active, hard-shell Maine lobsters. A good rule of thumb is a 1 to 1½ pound lobster per adult serving.
*
Large Stockpot: Adequate pot size is crucial to ensure lobsters are fully submerged without overcrowding. An 8-quart pot can typically handle one 1.5 lb lobster comfortably, while a 16-quart pot is ideal for 2-3 lobsters. If cooking a larger quantity, consider working in batches or using multiple pots.
*
Plenty of Water: You’ll need enough to fill your pot to submerge the lobsters fully.
*
Salt (Sea Salt or Kosher Salt): Don't skip this! Seasoning the cooking water is vital for flavor. Aim for a salty brine similar to seawater – roughly 2 tablespoons of salt per quart of water (or about ½ cup of salt per gallon). This infuses the lobster meat with a subtle, natural flavor.
*
Kitchen Tongs or Oven Mitts: For safe handling of hot lobsters.
*
Instant-Read Thermometer: Your best friend for ensuring perfect doneness.
*
Large Bowl (for ice bath, optional): To stop cooking immediately if desired, though often not necessary for lobster.
Boil or Steam? Choosing Your Cooking Method
The two most popular and effective methods for
how to cook a lobster are boiling and steaming. Both yield delicious results, but each has its distinct advantages.
Boiling Lobster
Boiling is perhaps the most traditional and fastest method, particularly good for beginners.
*
Pros: Quick cooking time, ensures even cooking through full submersion, ideal for cooking multiple lobsters at once if your pot is large enough.
*
Cons: Some natural flavors can leach into the cooking water, potentially resulting in a slightly less intense lobster flavor compared to steaming.
Boiling Steps:
1. Fill your large stockpot about two-thirds full with water. Add salt (2 tbsp per quart).
2. Bring the water to a rolling, vigorous boil over high heat.
3. Carefully grasp the sedated lobster by the body and plunge it head-first into the boiling water. If cooking multiple, add them one at a time, ensuring the water returns to a boil between additions.
4. Cover the pot tightly and begin timing once the water returns to a full boil.
5. Refer to the cooking time chart below.
Steaming Lobster
Steaming offers a gentler cooking process, often favored for preserving the lobster's delicate flavors and achieving a slightly more tender texture.
*
Pros: Retains more of the lobster's natural juices and flavor, gentler cook can result in more tender meat, less potential for over-salting the meat.
*
Cons: Slightly longer cooking time than boiling, requires a steamer insert or rack.
Steaming Steps:
1. Pour about 2-3 inches of water into your large stockpot (just enough to create steam without touching the bottom of your steamer rack). Add salt (2 tbsp per quart) – the steam will carry some of this flavor.
2. Place a steamer rack or basket into the pot, ensuring it's above the water level.
3. Bring the water to a rolling boil over high heat.
4. Carefully place the sedated lobster onto the steamer rack. You may need to curl larger lobsters to fit.
5. Cover the pot tightly and begin timing immediately.
6. Refer to the cooking time chart below.
The Art of Timing: When is Lobster Perfectly Cooked?
Overcooked lobster is rubbery and disappointing. Undercooked lobster is unsafe and unappetizing. Achieving that perfect pearly white, tender meat requires careful timing and verification.
General Cooking Times (Approximate):
These are starting points. Always confirm with a thermometer!
| Lobster Weight | Boiling Time (minutes) | Steaming Time (minutes) |
| :------------- | :--------------------- | :---------------------- |
| 1 lb | 7-9 | 10-12 |
| 1.25 lb | 9-11 | 12-14 |
| 1.5 lb | 11-13 | 14-16 |
| 2 lb | 13-15 | 16-18 |
| 2.5 lb | 15-17 | 18-20 |
Verifying Doneness: Your Thermometer is Key
The most reliable way to ensure your lobster is perfectly cooked and safe to eat is by checking its internal temperature.
* The U.S. guidance considers seafood safe at
145°F (63°C).
* Insert an instant-read thermometer into the thickest part of the tail meat, where it meets the body. Avoid touching the shell.
* The flesh should be pearly white and opaque, no longer translucent. The shell will turn a vibrant red.
Altitude Adjustment
If you live at a higher elevation, remember that water boils at a lower temperature (approximately 1°F lower for every 500 feet of elevation gain). This means moist-heat cooking methods like boiling and steaming will take longer. At altitude, using an instant-read thermometer to verify the internal temperature of 145°F is even more crucial than relying solely on time.
Once cooked, carefully remove the lobster from the pot using tongs. Allow it to rest for a few minutes before cracking and serving. This allows the juices to redistribute, leading to even more tender and flavorful meat.
Cooking live lobster at home truly is simpler than it looks, and the results are unmatched. With these expert tips on humane preparation, precise timing, and proper technique, you'll be serving up tender, flavorful lobster like a seasoned pro in no time. For more detailed instructions on specific cooking methods, be sure to read our comprehensive guide on
How to Cook Live Lobster at Home: Simple Steps for Perfect Results. Enjoy your delicious, perfectly cooked lobster!